Diy cigar box jewelry box
Today we talk about Diy cigar box jewelry box.
Introduzione: Jewelry Box on a Budget
As a DIY enthusiast, I was on the lookout for creative, budget-friendly ways to organize my jewelry collection. While browsing online, I stumbled upon the idea of a diy cigar box jewelry box. The very thought of transforming a humble cigar box into a stunning jewelry box sparked my imagination. I quickly learned that not only is this craft economical—costing around $20 compared to the $50+ for a store-bought item—but also provides an avenue for personal expression through unique designs.
Why Choose a Cigar Box for Your Project?
There are compelling reasons to pick a cigar box for your diy cigar box jewelry box project:
- Durata: Made primarily from robust hardwoods like cedar, cigar boxes can endure daily use, lasting a lifetime if cared for.
- Misurare: The average cigar box measures about 8x6x3 inches—ideal for storing a variety of jewelry without taking up a lot of space.
- Appello estetico: Many cigar boxes feature intricate designs or labels, adding an element of charm.
- Availability: Secondo i rapporti del settore, there are over 250 million cigars consumed annually in the U.S., leading to countless empty boxes perfect for repurposing.
Supplies Needed

Essential Tools and Materials
Before I started crafting my diy cigar box jewelry box, I needed to gather the following supplies:
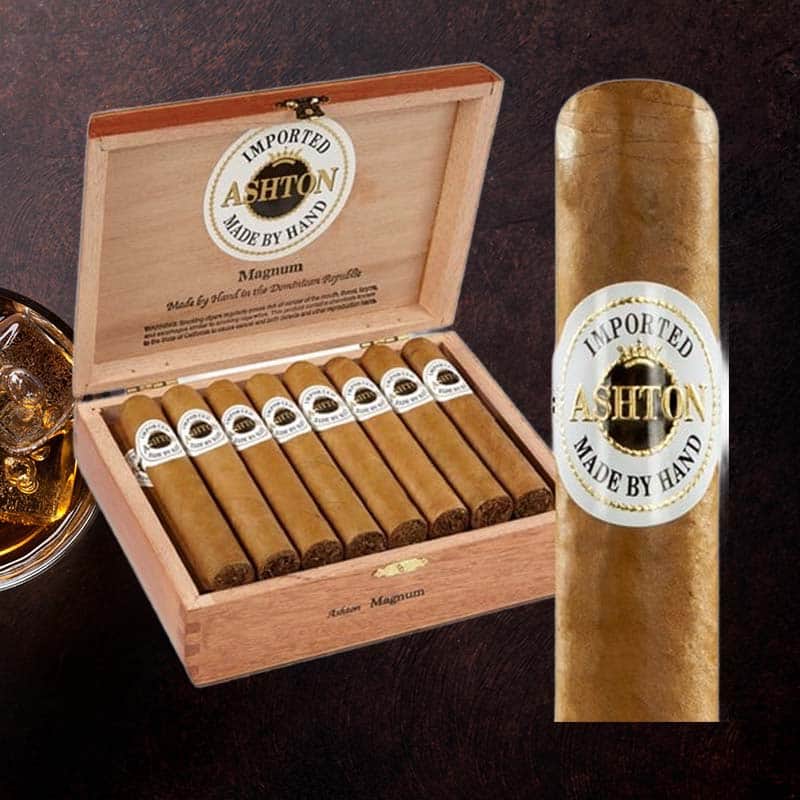
- Cigar box: I found mine at a local tobacco shop for around $5.
- Fabric: A yard of velvet fabric usually costs between $8-$15, depending on quality.
- Scissors: A sturdy pair can be purchased for about $10.
- Glue: I used fabric and wood glue, costing me around $5.
- Craft knife: A good craft knife costs around $10.
- Measuring tape: A basic measuring tape costs about $3.
- Soft cushioning material: Foams typically run $8-$12.
- Decorative elements: Expect to allocate around $5 for embellishments.
Step-by-Step Process to Create Your DIY Cigar Box Jewelry Box
Fare un passo 1: Iron the Fabric

Preparing Your Fabric for Application
The first critical step is to iron the fabric to remove any wrinkles. I used a simple steam iron, which I had at home, and it took just 5 minuti. Properly prepared fabric ensures a smooth application on the cigar box, giving my DIY jewelry box a polished look.
Fare un passo 2: Cut, Glue and Cover Bottom
How to Properly Cover the Base
I measured the interior base of the cigar box and cut the fabric to size, allowing for an extra inch on each side. Dopo aver tagliato, I glued the fabric down using wood glue, applying pressure for a couple of minutes. This method is crucial and helps in retaining a secure bond, leading to a flawless finish.
Fare un passo 3: Cut the Top Fabric

Tips for a Perfect Fit
Prossimo, I tackled the lid. I measured it out, just like I did the base, and then cut the fabric. I ensured the fabric would wrap snugly around all edges of the lid. An average cigar box lid measures about 8×6 pollici, and precision is important for a clean look.
Fare un passo 4: Folding the Fabric
Achieving Neat Edges
With all my pieces cut, the next step was folding the edges of the fabric over the sides of the box. I found the best method is to fold evenly and secure each fold with glue, which took an additional 10 minuti. This helped achieve neat edges, eliminating frayed appearances.
Fare un passo 5: Gluing the Sides
Best Practices for Adhesive Application
While gluing the fabric to the box’s sides, I discovered that applying glue sparingly allowed for a mess-free experience. I used just a thin line of glue along each edge, making it easier to adjust the fabric. This technique minimizes fabric wrinkles and provides a strong hold.
Fare un passo 6: Repeat Steps for Internal Sections

Creating Dividers for Different Jewelry Items
After completing the external part, I turned to the internal sections. I cut additional pieces of cardboard and fabric, measuring up divided spaces that could hold around 3-4 items each. The dividers help keep my necklaces, earrings, and rings organized, which is essential for easy access.
Making the Cushions for a DIY Ring Holder
Choosing the Right Material for Comfort
For my DIY ring holder, I chose soft foam, roughly 1 inch thick. Cushioned holders are ideal as they protect the rings from scratches, and I cut a piece that would snugly fit into my box’s interior. The foam was about $10 for a yard, and it gives a luxurious finish to the project.
Finishing Touches: Decorative Elements
Ideas for Personalizing Your Jewelry Box
To add a personalized flair, I opted for decorative stones and small faux gems. In total, I spent about $10 to gather embellishments. Personalization not only enhances the charm of the diy cigar box jewelry box but can also make it a thoughtful gift.
Showcasing Your DIY Cigar Box Jewelry Box
How to Display and Use Your New Creation
Now that my project is complete, I showcase my lovely diy cigar box jewelry box on my dresser. It has become a vital piece of décor in my room. Più, the entire process has made me proud every time I reach for a piece of jewelry!
Additional Tips for Success
Errori comuni da evitare
Reflecting on my experience, I identified several common mistakes that can derail your DIY success: skipping the fabric ironing can lead to creases, not measuring accurately can result in an ill-fitting look, and rushing the glue-drying process often leads to a lack of adhesion.
Share Your Project
Connecting with the DIY Community
Sharing your craftsmanship can be gratifying. I documented my diy cigar box jewelry box journey on social media, connecting with a vibrant online community. Websites like Pinterest and Instagram are great for showcasing your work and obtaining valuable feedback.
Related Projects You May Enjoy
Explore More Upcycling Ideas
After completing my jewelry box, I was inspired to dive into more upcycling projects, such as turning old glass jars into candle holders or creating wall art from discarded materials. Each project is fulfilling and promotes sustainable practices!
Subscribe for More DIY Inspiration
Stay Updated with Our Latest Tutorials
Don’t miss out on more creative ideas! Subscribe to stay tuned for new diy cigar box jewelry box tutorials, recipes, and crafting tips that will keep your inspiration alive.
FAQ
What fabric is used for jewelry boxes?

I often opt for velvet or satin, which range from $8 A $15 per yard. These materials add a rich feel while protecting the jewelry.
How many cigars fit in a box?
The average cigar box typically holds between 20 E 25 sigari, depending on the dimensions and brand, making it an ideal size for my project!
What wood is used for cigar boxes?

Cedar is the most common wood used for cigar boxes, prized for its pleasant aroma and durability, which adds to the charm of any diy cigar box jewelry box.
What do you put in a cigar box?
Besides cigars, a cigar box can stylishly store various items, from trinkets and mementos to my stunning jewelry pieces, showcasing creativity in function.