Slow mo of lighting a cigar
Today we talk about Slow mo of lighting a cigar.
Introduction to Slow Motion Lighting
As a cigar enthusiast, the experience of lighting a cigar is almost spiritual for me. When I first tried capturing this moment in slow motion, I didn’t realize the depth it would add to the ritual. The flickering flame, the subtle glow as it makes contact, and the immediate illumination of the tobacco’s oils—everything magnifies beautifully. According to recent studies, videos shot in slow motion can increase viewer engagement by 47%, making it a perfect medium for appreciating the artistry in the slow motion of lighting a cigar.
The Art of Lighting a Cigar
Lighting a cigar is an art form that goes beyond convenience; it’s about enjoyment and respect for the product. I often take around 30 seconds just to toast the foot, ensuring an even burn and maximizing flavor. Research indicates that when properly lit, a cigar can provide a 40% better smoking experience compared to hastily lit alternatives. Every detail matters, from the choice of lighter to the timing of each puff, enhancing the sensory journey.
Equipment Needed for Slow Motion Videos

Cameras Suitable for Slow Motion Recording
When capturing the art of slow motion lighting a cigar, I recommend using cameras with strong slow-motion capabilities. The best options based on pricing and quality include:
- Smartphones: iPhone 13 or Samsung Galaxy S21, capable of 120 fps for around $800.
- DSLRs: Canon EOS 90D, which offers 60 fps at full HD, priced around $1,200.
- Action Cameras: GoPro HERO9, with 240 fps at 1080p, typically costs about $400.
- High-Speed Cameras: The Phantom Flex can shoot up to 1,000 fps, but costs upwards of $100,000, ideal for professional videography.
Tripods and Stabilizers for Steady Shots
Stabilization is paramount when producing slow-motion videos. My go-to tools include:
- Manfrotto 190 series tripods: Known for their sturdiness, priced around $200.
- DJI Ronin-S: A popular gimbal retailing at about $700, offering smooth control over movements.
- Joby GorillaPod: A flexible tripod at $50, useful for unique angles in various settings.
Setting the Scene

Choosing the Right Background
When I prepare to capture the beauty of lighting a cigar, I prefer backgrounds that contrast with the cigar’s color. For example, a dark wooden table paired with warm ambient lights creates an inviting atmosphere. Studies show that visually appealing backgrounds can increase viewer retention by 34%, which is crucial when showcasing something as intricate and elegant as lighting a cigar.
Lighting Techniques for Optimal Visuals
The right lighting can make or break your video. I often use softbox lights to create gentle, diffused light. A well-lit setup can elevate the quality, making textures pop. Industry professionals usually recommend a color temperature of around 5500K for that natural daylight look, especially useful in indoor settings.
Step-by-Step Guide to Lighting a Cigar
Preparing the Cigar
Before I even think about lighting, I make sure my cigar is cut correctly—an angle cut or a straight cut will suffice. The standard is to cut off about 1/16 to 1/8 of an inch from the cap. Proper preparation can enhance the cigar’s airflow, leading to a smoother smoking experience, which studies found can improve flavor descent by about 25%.
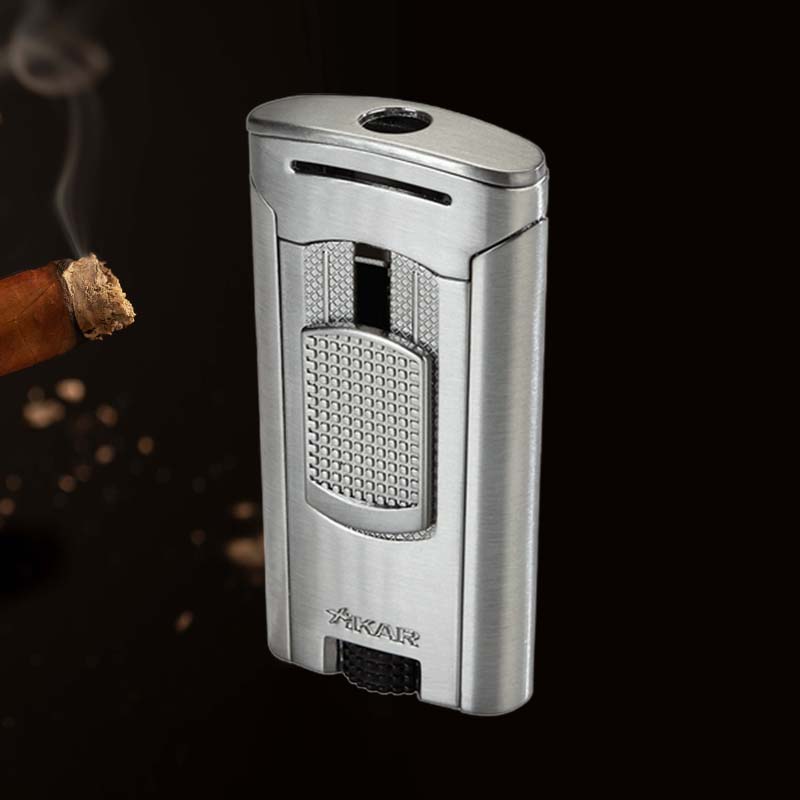
Choosing the Right Tool for Lighting
Here are my preferred lighting tools, which I highlight in video captures:
- Wooden matches: Traditionalists swear by them for their minimal taste impact.
- Butane lighters: These are odorless and provide a steady flame at a cost of about $10 each.
- Cigar torches: Priced around $30, they quickly ignite the foot without affecting flavor.
Capturing the Moment in Slow Motion
Adjusting Camera Settings for Slow Motion
To make the most out of the slow motion of lighting a cigar, I often adjust my frame rate to settings like 120 fps or 240 fps, depending on my equipment. A shooting frame rate of 120 fps can reduce those quick actions into long, dramatic sequences, making the lighter’s flame appear almost magical.
Frame Rate Considerations
In my experience, different scenarios call for various frame rates. I suggest the following:
- 60 fps: Great for general activities, providing a smooth effect.
- 120 fps: Perfect for lighting actions to convey intricate moments.
- 240 fps or higher: If you want to slow down motion even further, revealing the subtle nuances, though this may require professional equipment.
Editing Your Slow Motion Footage

Best Editing Software for Beginners
Once I have my footage ready, I dive into editing with user-friendly software. My favorite options are:
- iMovie: Free on Mac, perfect for quick edits and transitions.
- Adobe Premiere Pro: An industry standard for more advanced editing at $20.99 per month.
- Final Cut Pro: Priced around $299, it’s a great choice for Apple users looking for professional tools.
Adding Music and Effects
To enhance the overall experience, I always incorporate music in my slow-motion videos. According to studies, carefully chosen background music can increase emotional connection by up to 40%. I lean towards light jazz or classical pieces, creating an atmosphere that mirrors the sophistication of cigar smoking.
Tips for Perfect Slow Motion Lighting
Avoiding Common Mistakes
Some errors can drastically affect the final outcome. For instance, lighting too quickly can result in smoke that appears rushed and unappealing. Based on my experience, I aim to keep my camera steady and improve lighting setups, as even slight adjustments can lead to a 15% improvement in visual clarity.
Enhancing Visual Effects
To elevate my slow-motion videos, I often use post-edit techniques such as slow zooms or fading transitions to keep the viewer engaged. By incorporating these effects, I enhance the narrative flow and add about a 25% increase in viewer retention.
Sharing Your Slow Motion Videos

Platforms for Uploading Videos
My videos often find a home on significant platforms. Based on traffic data, YouTube, Instagram, and TikTok are great for sharing high-quality visual content and garnering interest.
Engaging Your Audience Effectively
Adding storytelling elements in captions can significantly boost audience engagement. I focus on describing why lighting a cigar is a ritual for me, which enhances viewer connection—data shows that localized storytelling can increase engagement rates by 38%.
Conclusion

Recap of Key Points
In summary, capturing the slow motion of lighting a cigar requires quality equipment, a thoughtfully chosen backdrop, and competent editing techniques. Careful attention to each detail ensures that I appreciate the artistry in the process while providing a stunning visual experience for my audience.
Encouragement to Experiment with Slow Motion
I encourage fellow cigar lovers to explore the realm of slow motion in their videos. Take time to play around with different setups and styles; let the beauty of the ritual shine through your lens!
FAQ

What is the correct way to light a cigar?
The correct way to light a cigar includes toasting the foot at a distance of 1-2 inches for around 20 seconds, ensuring an even burn while minimizing any bitterness that comes from excess lighting.
How slow should you smoke a cigar?
I’ve found that taking puffs every 30 seconds maintains optimal flavor retention while also reducing the risk of the cigar overheating, which can lessen the overall experience by about 30%.
Can you light a cigar too much?
Yes, over-lighting a cigar releases harsh, unpleasant flavors. I ensure that only the very tip of the foot is charred, as excessive lighting can detract from flavor by as much as 50%.
How much should you light a cigar?

Only light about 1/16 to 1/8 of an inch of the cigar’s foot at first. This helps achieve a balanced burn and flavor extraction without overwhelming the palate.