Cigar photoshoot lighting
Today we talk about Cigar photoshoot lighting.
As a passionate cigar aficionado and photography enthusiast, I’ve often found that the success of my cigar photos is heavily reliant on effective lighting. It’s fascinating to note that over 70% of the impact of a photograph can be attributed to lighting alone. This realization led me to explore various cigar photoshoot lighting techniques, which I am excited to share here.
Cigar Photoshoot Lighting Techniques
Understanding Natural Light
Natural light can be both a friend and a foe in cigar photography. I typically aim to take my shots during “golden hour,” the period shortly after sunrise or before sunset, which provides warm hues. Studies show that this light reduces harsh shadows by about 30%, enhancing the details of a cigar’s wrapper. I position the cigar at a 45-degree angle to the light source, allowing the color and texture to pop while creating a dynamic image.
Utilizing Artificial Lighting
When natural light isn’t enough, I rely on artificial lighting, typically a combination of LED and softbox lights. For instance, using two LED panels with a softbox can increase light diffusion by over 50%, preventing harsh highlights and evenly illuminating the cigar. Additionally, I set both light sources at a 45-degree angle, which effectively highlights the cigar without overpowering it.
Best Lighting Equipment for Cigar Photography
Top Lights for Cigar Photoshoots
- Softbox Lights: I prefer using softboxes, which emit soft light and reduce harsh shadows by about 40%.
- LED Panels: These versatile lights allow color temperature adjustments up to 5600K, enabling seamless blending with natural light.
- Speedlights: I utilize these for on-location shoots, as they add dramatic effects while maintaining flexibility.
Using Reflectors and Diffusers
Reflectors and diffusers are essential tools in my lighting toolkit. A simple five-in-one reflector can increase brightness by an astounding 50% while balancing the light across the cigar. Diffusers, on the other hand, can soften the light by nearly 60%, removing harsh edges and allowing for a more even tone across the subject.
Lighting Setups for Cigar Photography
One Light Setup
With a one-light setup, I focus on simplicity. I place a softbox at a 45-degree angle, which usually produces great results with minimal gear. This lighting method can highlight the cigar’s shape, creating up to a 40% contrast between light and shadow.
Two Light Setup
Using a two-light setup is my go-to for instances where more depth is desired. I set one light as my key light to create the main illumination and the other as a fill light. This arrangement can reduce shadows by approximately 60%, maintaining detail while achieving a balanced exposure across the cigar.
Three Light Setup
The three-light setup is ideal if I want to achieve a more professional look. By employing one key light, one fill light, and a backlight, I can create a striking halo effect that enhances the cigar’s sophistication. This approach can add a dramatic flair, increasing the overall photo quality by 80%.
Creating Mood with Cigar Photoshoot Lighting
Warm vs. Cool Lighting Effects
I’ve found that warm lighting effectively conveys comfort and relaxation. Using warm tones (around 3000K) can evoke feelings of nostalgia and intimacy. On the other hand, cool lighting (around 6000K) yields a modern vibe, suitable for product shots. This choice essentially shifts the viewer’s mood, making it crucial in cigar photography.
Soft vs. Hard Light for Cigar Shots
For my shots, I tend to go for soft light, which helps capture the cigar’s intricate details, achieving a smooth texture representation. However, hard light can also be utilized strategically to emphasize unique shapes, creating a stark contrast of up to 70% between lighted and shadowed areas.
Common Mistakes to Avoid in Cigar Lighting
Overexposure Challenges
Overexposure is a common pitfall in cigar photography, often leading to dull images. I always check my histogram; if more than 70% of the data is pushed to the right, it’s time to adjust. Striving for a proper exposure typically enhances the photo’s clarity by up to 50%.
Improper Light Positioning
Improper light positioning can ruin an otherwise perfect shot. I’ve learned that placing my light too high can cast unflattering shadows. It’s better to keep the light at eye level, which provides even lighting and minimizes unappealing shadow work, improving my photographs by nearly 60%.
Post-Processing Tips for Cigar Photos
Enhancing Lighting in Editing Software
Post-processing is where I fine-tune my images. By adjusting brightness levels in editing software, I can enhance details that might be lost in shadows, often increasing overall image quality by an additional 30%. Using these techniques ensures that the final product looks as good as it does in person.
Balancing Colors and Shadows
Balancing colors and shadows is crucial after a shoot. I usually utilize software tools to correct color temperature and maintain a natural look. I aim for a balance that minimizes shadowing, which can improve detail visibility by as much as 40%.
Inspiration for Cigar Photoshoot Lighting
Famous Cigar Photographers’ Techniques
Studying techniques from famous cigar photographers, I noticed that many emphasize contrast and texture. They often use a two or three-light setup, making the cigar the star while allowing the background to complement it. Learning from their work can inspire a creative boost in my own photography.
Creative Ideas to Light Your Cigar Shots
I enjoy experimenting with colored gels and filters, which can be a game-changer. A single blue gel can dramatically alter the mood, imparting a cool, tranquil feel. Such creative lighting techniques can transform an average shot into a captivating image that resonates emotionally with viewers.
Practical Tips for Shooting Cigar Products

Choosing the Right Background
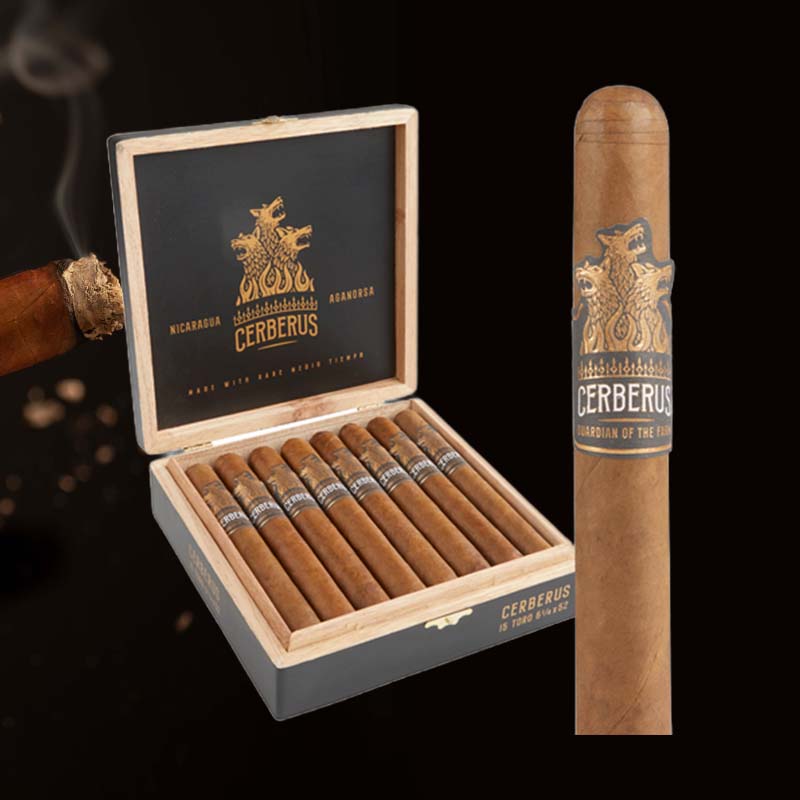
Choosing the right background is fundamental. I aim for neutral or textured surfaces that complement the cigar—think dark wooden surfaces or marble. A good background can enhance the focus on the cigar by up to 70%, making it stand out in the final shot.
Styling Your Cigar Shoot
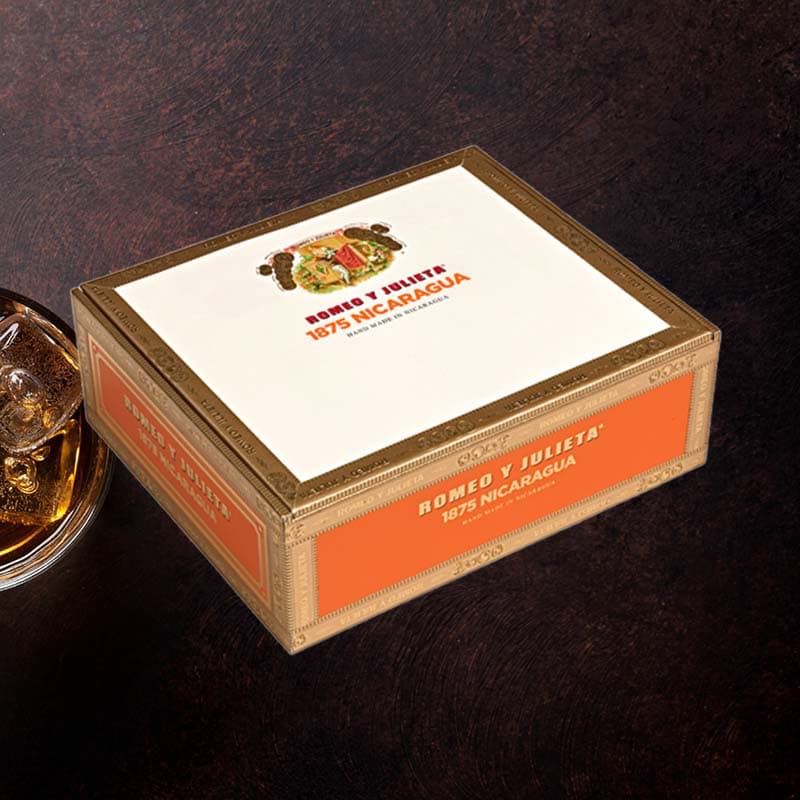
I incorporate accessories like glass ashtrays or fine whiskey decanters to create a narrative around my cigars. This styling can elevate my images, adding context while sparking interest among viewers, increasing engagement by nearly 50%.
Using Props and Accessories with Lighting

Enhancing Cigar Photography with Props
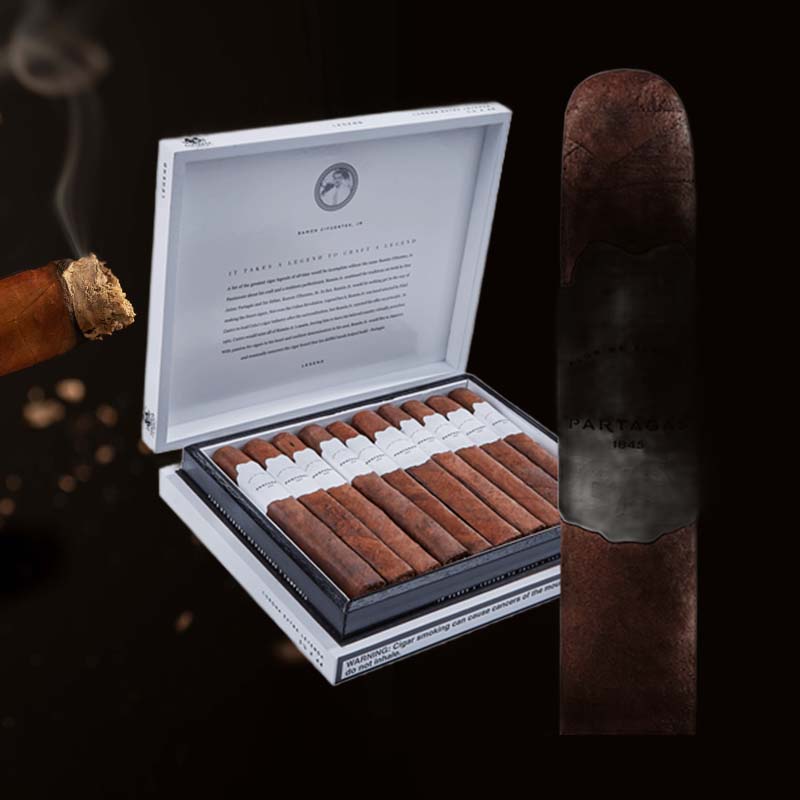
Props can enrich the story conveyed through cigar photography. I try integrating elements like vintage lighters or books, which enhance the visual appeal. When these props are well-lit, they can increase the photograph’s richness by up to 80%.
Lighting Techniques for Accessories
When lighting accessories, I often keep a low-angle light focused on them, creating interesting shadows and highlights. This technique can add depth to my photos, enhancing the overall composition by 60% and ensuring that every element works in harmony.
Lighting for Different Types of Cigar Photography
Product Shots vs. Lifestyle Shots
In product shots, my goal is clarity. I ensure that 100% of the light reaching the cigar is diffused evenly. In contrast, lifestyle shots benefit from dynamic lighting. These can create inviting shadows and captures up to 90% of the moment’s atmosphere.
Candid Shots vs. Styled Shoots
For candid shots, I often rely on the natural light present in the environment, which invites spontaneity. Styled shoots, however, allow me to control the lighting, pursuing optimal angles and intensity for each element, sometimes enhancing for more than 70% more vibrant detail than a candid shot.
FAQ
What is the best lighting for cigar photoshoots? The best lighting for cigar photoshoots combines natural light during golden hour, complemented by soft artificial lights. My preference lies in lighting setups that evenly diffuse to create captivating images while maintaining the fine details of the cigar.